How to take and edit black and white pictures.


Have you been wondering how to take and edit your very own black and white pictures without going to a professional photographer and spending hundreds of dollars?
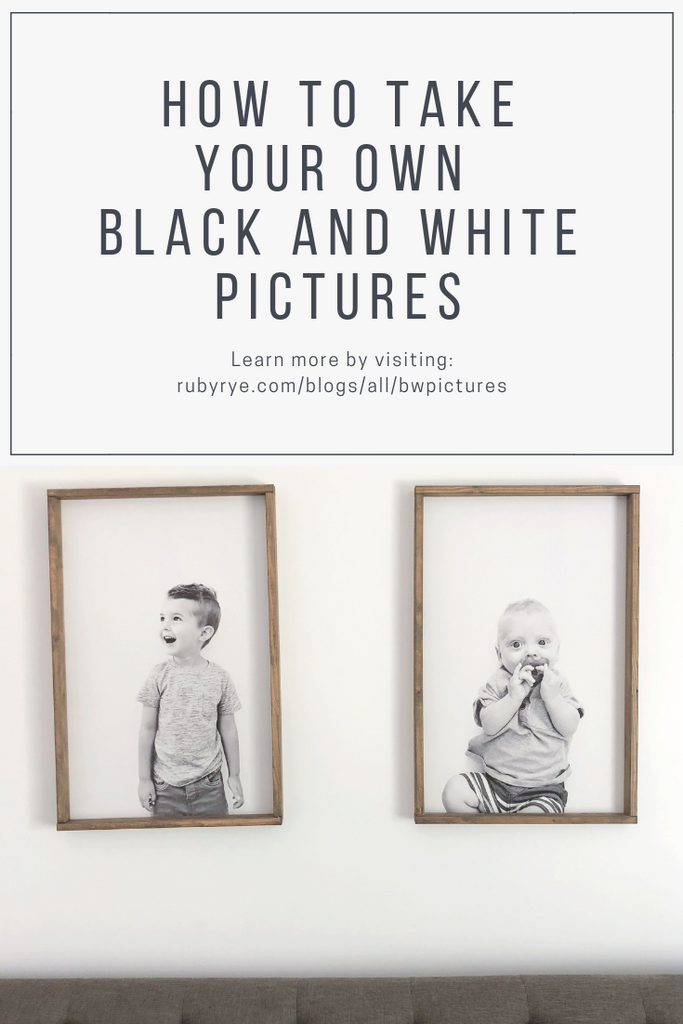
I had been wanting to do this for my own kids and I was successful with only using my iPhone! I think they turned out pretty great!
What you'll need-
-A blank, preferably white or light colored, wall.
-iPhone (or phone with similar camera). I used an iPhone 8.
-The PicTapGo App. (I do think this might cost a couple of dollars to download, but you're saving lots in the end by taking the pictures on your own.)

Step 1- have your child stand in front of a blank white wall wearing whatever you'd like them to. You can have them wear a white top, but I don't recommend it because it doesn't have enough contrast when you change the photo to black and white. I like how this grey shirt turned out, and we did some without him wearing a shirt too that turned out really cute too!
I personally like to stand back a little bit so the picture isn't so close up and has a little more white/negative space in the photo. But close ups turn out really cute too! Can't go wrong!
***make sure it is in natural daylight, and turn any of the lights in the room off. It's okay if it's a little dark, we will brighten it up. but they more natural light and brighter, the better quality picture you will get.
Step 2- open up the Pic Tap Go App and upload your picture. They have a lot of great filters already, but we are going to combine a few. It's important to brighten it up a little bit, so I first stat with that. The filter is called "Lights On" and this is what it looks like. Leave the intensity all the way up (the little knob at the bottom that scrolls left and right, leave it all the way to the right.)
Step 3- We are going go stack a few more filters. So once you have applied the Lights On, scroll down and it will bring all the other filters back up again. The next filter we are applying is "Simple BW". Its near the bottom. Again, leave the intensity all the way up.
Step 4- Scroll down again to apply another filter. This time we are using the filter "Crispity". It's on the second or third row I think. You will leave the intensity all the way up on this one as well.
Step 5- We are going to use the "Lights On" filter one more time. This time I like to move the intensity knob a little over to the left. On this particular picture it's at 76%. But you can do it to however bright or dark you like it. You can leave this step off completely, but I like my pictures a little brighter, so I used it one last time.

Step 6- Click the "go" arrow on the top right, and then if you want to save this Recipe, you can click the save recipe button directly below the picture and it will have you title it. (My title on this picture above shows 76% Nov 13 is Just Lights On 76% because I wanted to remind myself of that when I went to write this blog post so I didn't forget since the picture shows Nov 13 for some reason where it should say which filter it is.) This will then go into your own filters (shows up as My style with a heart in the app next to the filters option) and you can easily apply it next time in one step. Then click camera roll to save the picture to your camera roll on your phone!
Done and done!! Pretty easy, right? And I love the end result. It looks like it was taken on a professional white backdrop at a photography studio, but it was just our simple white wall at home!
If you'd like to have your finished product printed, there are a lot of options for this. You can take it into any of your local printers and get it printed into any size!
If you want it framed and printed, like the picture of Luca above, click here for more information!


Great post! Thanks for the tips! How did you maintain the resolution when using the app you mention as it reduced the resolution so much that its not good enough to print?? Help!
Hi, can you print huge poster size using this app in iPhone? I thought the pixel count wasn’t high enough. Thank you for all of the information!
Leave a comment