If you'd rather watch the process of this room makeover, I have a story highlight on instagram you can see by clicking here.
Last year I was really wanting to update our playroom. It's right off of our kitchen, and a room that is used daily and I wanted to make it a little less boring. I was really fixated on the whole thing being covered in something, not just focusing on one accent wall. So I was thinking of wallpaper. I saw this one wallpaper that was a grid, and I loved it but didn't want to spend the money. So I had the *genius* idea to use electrical tape and create my own DIY version of wallpaper.


Fast forward nearly exactly a year.. and I was so sick of this grid look. I really did love it, but it had served its purpose. It didn't match the aesthetic of the rest of my house and just felt very out of place. So it was time for something new. Which meant it was time to remove the electrical tape. And boyyyy did I regret ever doing it once I started...
The electrical tape peeled off paint with it.. down to the drywall. I couldn't believe it. All I could really do was laugh. This project was supposed to save me time and money.. but I was slowly coming to the realization that this was going to take up a lot more time and money to fix.


And it sure did! After doing some research I realized my only option was to cover the walls completely with shiplap or do a skim coat. Shiplap was my first option and what I originally wanted to do until I priced it out and it was going to be around 1,400 for just the shiplap wood to cover the whole room.. which was yet again a non negotiable for me. But this price quickly was swaying me. And realizing I was going to have to do rip cuts on my table saw, which I'm not fully confident using.
So I decided skim coating was going to be the way to go... hindsight man, figuring out to use that table saw would have been a lot easier.. and spoiler alert.. I had to use it anyway! hahah
But I've had this pic saved for awhile that I loved and it was unique and I decided I was going to do it! So step one was skim coat!
I had no idea what I was doing with skim coating. But I'm not afraid to try something new. There's always a way to fix it if it goes wrong. I watched a few youtube videos and felt pretty prepared.
Here's what I bought at home depot for the skim coat: (all items below are clickable affiliate links for your convenience to see exactly what I bought!)
- 3.5 gal. Plus 3 Ready-Mixed Joint Compound
- 5 gal. bucket (the guy at home depot told me that even though the joint compound was pre-mixed, it can settle.. so it's best to dump it into a bucket and mix it up again just to make sure. And if you need to store it just put an inch or 2 of water on top and use a lid)
- 24 in. Aluminum Power Joint Compound Paint Mixer
- 12 inch stainless steel blade taping knife ( I actually only used a 6 inch flexible joint knife.. but I wished that I had gone with the longer one because it covers more surface area and would probably make it a little faster)
- 12 in. Plastic drywall mud pan


I'm not 100% sure that I did this right.. but in the end, it worked out! So I think it was okay! My tip is to go thin. It didn't take much to cover up. And the thicker you go, the more you'll have to sand down. I let it dry overnight, and then I sanded the next day using the sanding block! Wiped/vacuumed all the walls, and then painted on the KILZ sealer. It goes on different than a typical paint. It's thinner and I almost felt like I wasn't doing it right, but again, it worked out!
PHEWWWW!! finally made it through just the prep stuff! That if I didn't do the dang electrical tape in the first place, I would have never had to worry about any of this.. now onto the fun stuff!
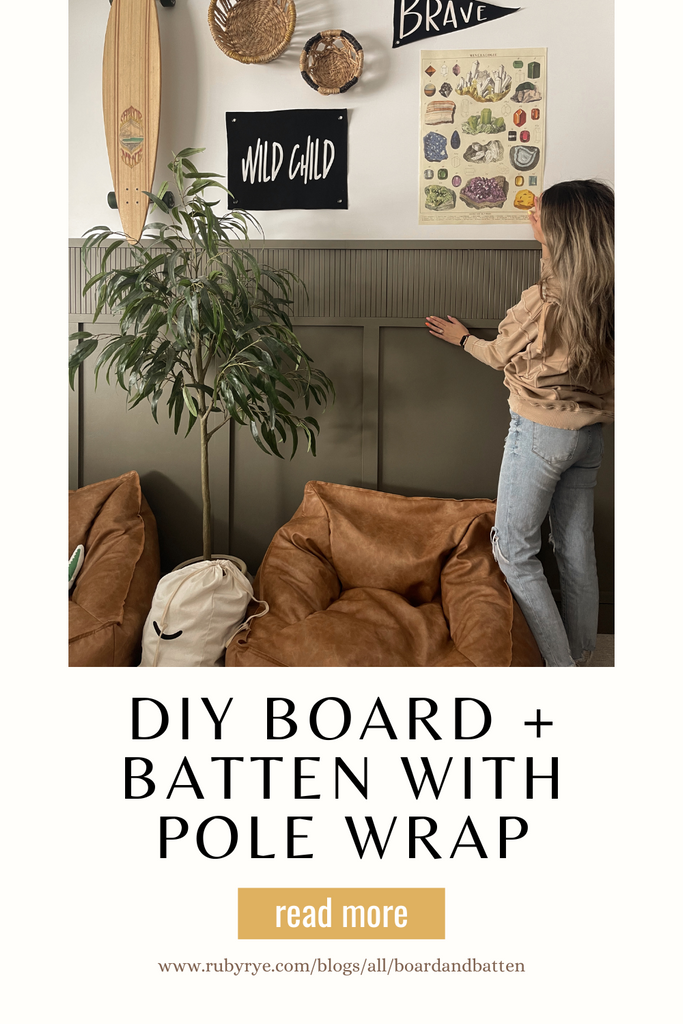
Board and Batten with Pole Wrap Boarder
I really wanted to reeded detailing on top of the board and batten! It looks so unique and I fell in love with it! I couldn't find pole wrap in stock.. it's only sold online through Home Depot and Lowes, but it was out of stock (and wouldn't restock for 3 months) when I was doing my project. Some stores had it in stock, but weren't able to ship it.. and no stores near me had it available.
But... I found an alternative to create that same reeded look!
The RÖDEBY Armrest bamboo tray from IKEA!
a
It ended up being more expensive, and it obviously didn't come in a MDF option like the pole wrap does, but otherwise it was a perfect substitute since I was needing it sooner than June to finish my project! I bought 19 to go around the whole perimeter of the room.

I started by measuring around my room how far apart I wanted the board and batten to go. And then I wrote it down in a notebook.. it ended up that not every board was exactly the same distance apart around the entire room. But I started with the edge pieces against the corners and then tried to get roughly 20" (give or a take a couple inches) between each board. Then I used a super high tech method of marking them so I could visualize.. with sticky notes cut down to the width of the boards. haha


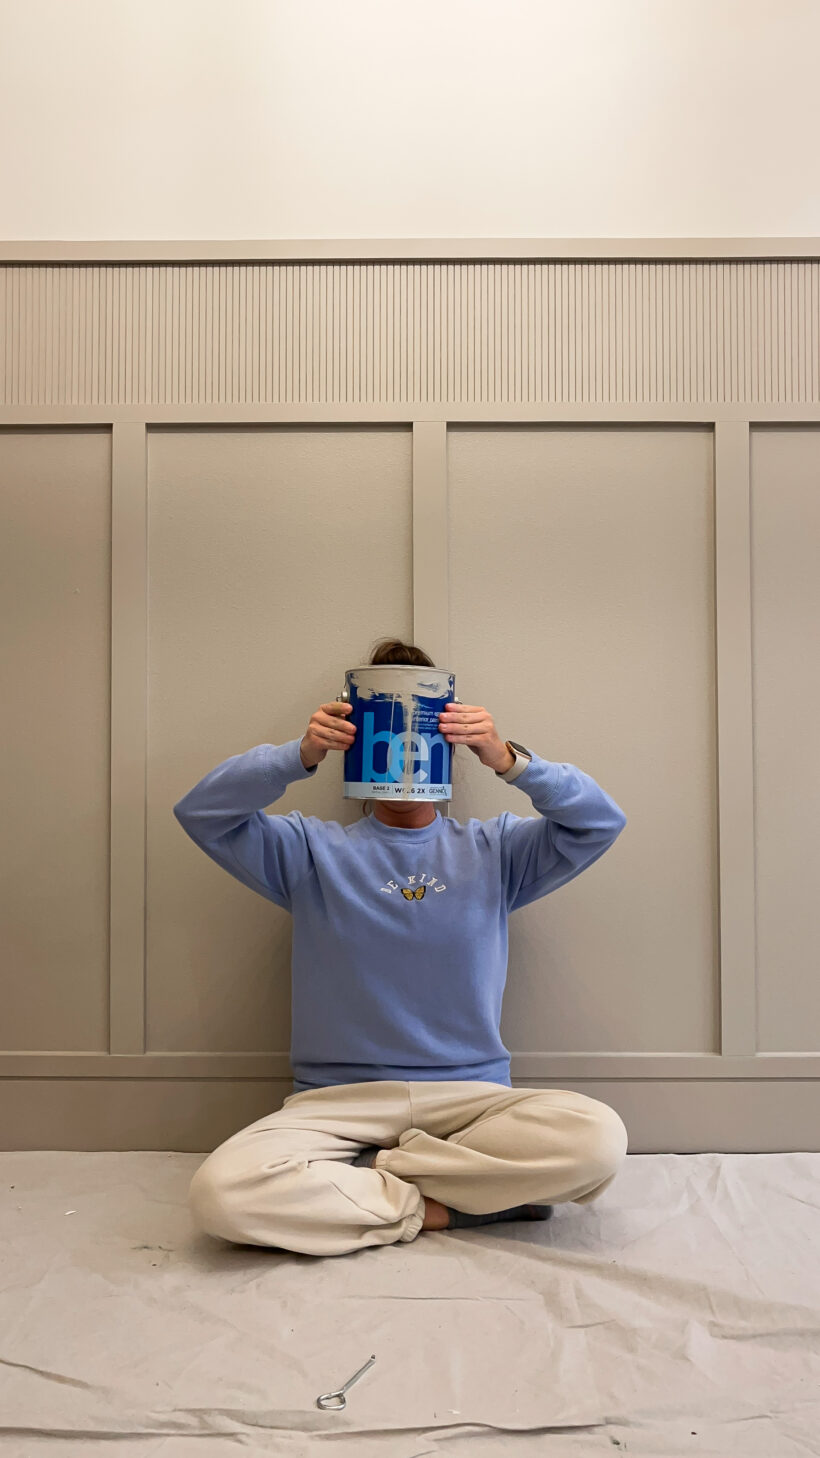
I decided to pain the wall first! It seemed easier. I figured once I had the boards on, getting in all the crevices would be a pain. But realized down the road I would have to do this anyway when I touched up after caulking. Still, I think it was good to get a good base down first.
The paint color I went with is SW COCOON


I left the sticky notes up and just moved them up higher on the wall. They showed me where I was going to hang the boards as well as marked the studs. Though not every board went into a stud, it ended up being fine. You could use liquid nails construction glue if you want to make things super secure, but it will damage your drywall if you ever decide to take it off. Personally, I didn't feel like it was necessary and I didn't want to have to deal with damaged drywall down the road!
Next step was to hang the boards. I opted to paint them beforehand outside with a paint sprayer. But after hanging them and having to go back and putty the holes and then touch up paint, I would just wait to paint them until they're on the wall next time!
I knew going into it that the boards were thicker than our baseboard...

So I knew I wanted to put a trim piece along the bottom, just slightly above the baseboard, that would essentially make it look like it was a thicker, decorative baseboard.. and then the boards would rest flush on top of it. My cuts to go around the corner edge of the wall were 22.5 degrees!

Then it was time to try out the IKEA RODEBY Armrest!

I used my table saw to cut them down so they were 11" high. If you have a sliding arm miter saw you could also cut on that instead because they are bendable! A tip to keep them from splintering when you cut is to put a piece of painters tape along where you are going to cut! I still ended up having to sand some because the tape didn't go down in all the grooves, but it helped cut some time down. This is where the MDF pole wrap would have been sooo much easier!

Final step was to put the last trim piece on top, fill in all of the nail holes, caulk, touch up paint and paint the reeded detailing! In hindsight.. I wish I had used my paint sprayer outside to paint these before hanging them. It was a verrrryyy tedious task to get in all the grooves. I also wish I had painted to wall behind up to this point. I only went up to roughly the bottom of the reeded part and there were some places at the top where it didn't end up being perfectly level and you can see the wall behind.. and getting a small enough paint brush to paint back there was tricky!


and finallllyyyy.. After WEEKS of work... It all came together and I couldn't be happier with how it turned out!!


Curious how you hung the Rodeby. Did you use finishing nails or did you apply any sort of glue to keep them down?
Hey! What color paint did you use for the wall?!
Hey! What color did you use?!
Leave a comment